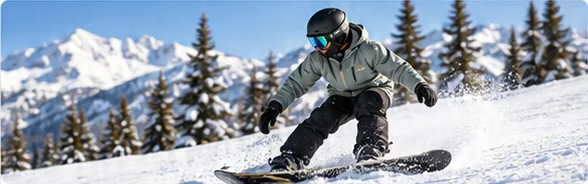
How to stop on a snowboard
Learn simple, reliable ways to slow down and stop with control.
Beginner skills
Edge control
Everyone falls when they learn. To fall on a snowboard more safely, get low as soon as you feel it coming, keep your arms tucked in rather than reaching out, and sit and roll back on heelside falls or drop to your knees and forearms on toeside falls.
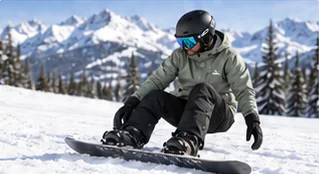
At a glance
Before this guide
Get low, keep your hands in and let your body take the fall in a controlled way.
Falling is part of learning, so the goal is not to never fall but to fall in a way that is less likely to hurt, then get up calmly. No technique makes falling risk-free, but instructors commonly teach a few principles. Ask yours to demonstrate them and let you try them on the flat before you need them.
If you hit your head, or anything hurts more than a knock, stop riding and get checked. Resort ski patrol can help. Falling well is one of the first skills in our beginner’s route from stance to turns, and it makes every later step less intimidating.
Practice on gentle, quiet terrain where a fall is no big deal.
Start in a marked beginner or learning area: a wide, gentle slope with a flat run-out and few people around. On gentle terrain you fall from a low speed, the snow is usually well groomed, and you have space to sit, roll over and stand up without being in anyone’s way.
Wear a helmet and dress for sitting in the snow. Waterproof pants and gloves make a big difference on a day when you spend time on the ground. Some riders also choose wrist guards or padded shorts; ask your rental shop or instructor what they recommend.
Your board has two edges, and every fall, stand-up, stop and turn uses one of them.
A snowboard has a metal edge along each long side. Which one you are using depends on which way you face:
The key rule: keep the uphill edge in the snow. When the board is across the slope, the uphill edge grips and holds you. If the board goes flat, or the downhill edge touches the snow while you are sliding, the edge can dig in suddenly. That is called “catching an edge”, and it causes many of the hardest beginner falls.
Getting up on each edge is the first time you really feel them working. Once you can stand still on your heel edge and on your toe edge, you are ready to learn to sideslip and brake on each edge.
Board downhill and across the slope, then stand up onto the uphill edge.
This is the classic snowboard stand-up, facing downhill. It takes strength at first, so be patient.
Many beginners find this easier, because you use your arms more.
Practice both. You will need to get up in either direction, and being able to hold each edge is the start of all edge control.
After a fall, make sure other people can see and avoid you.
Practice goals
Checking a box records your practice. Ask your instructor when you are ready to progress.
Common questions
Get low as soon as you feel a fall coming, avoid catching yourself on outstretched hands, and aim to sit and roll back on heelside falls or drop to your knees and forearms on toeside falls. Ask an instructor to show you and practice at low speed.
Sit with the board downhill of you and across the slope, pull it close to your bottom, lift your toes to dig in the heel edge, then bring your chest forward and push up with one hand.
Many beginners find it easier, because you can push up with both hands from your knees. Roll onto your front with the board below you, kneel on the toe edge and push up.
The heel edge is under your heels and you face downhill on it. The toe edge is under your toes and you face uphill on it. You need both to stop and turn.
Stay on gentle terrain, keep your knees flexed, keep the uphill edge in the snow when sliding sideways and look ahead rather than at your feet. A lesson is the quickest way to find out why you are falling.
Up next
Learn simple, reliable ways to slow down and stop with control.
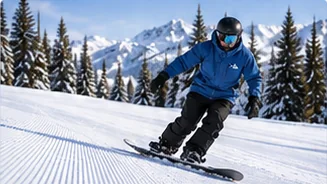
Turn on each edge, change edges and link your first S-turns.
Find a good place to learn nearby and compare lessons before booking.