Choose your snowboard
Find the right board for your goals, size and riding style.
Your first turns start here
Build confidence, one skill at a time.
Get ready for your first lesson, understand your equipment, and find the next skill to practice.
Step by step
Get set up and find a comfortable stance.
Learn to move around on flat terrain.
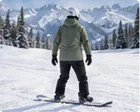
Discover how your edges work as you fall and get up.
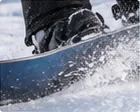
Learn a simple, reliable way to stop.
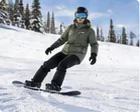
Link your turns on gentle slopes.
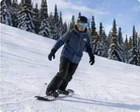
Learn how to ride the chairlift with ease.
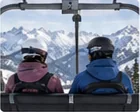
Work through the basics with an instructor on suitable beginner terrain. Progress at your own pace.
Gear guides
Find the right board for your goals, size and riding style.
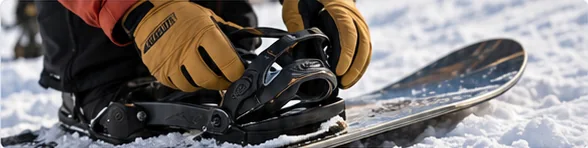
Get a secure, comfortable fit for better control.
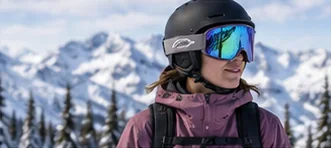
Stay warm, dry and comfortable all day.
Explore by topic
Mount, install and remove bindings with the right hardware.
3 guides
Move from skidded turns to clean, carved turns on the edge.
7 guides
What one day covers, what speeds progress and the milestones to aim for.
7 guides
The safe order for learning freestyle tricks, with coaching.
9 guides
Match board type, profile and flex to your ability and terrain.
7 guides
Layer up to stay warm, dry and comfortable all day.
5 guides
A simple routine to clean, check, wax and tune your snowboard.
12 guides
Measure, size and fit-check snowboard boots before you buy.
5 guides
Airline rules, fees and packing for flying with your board.
4 guides
Real resort prices for tickets, lessons and rentals, plus a budget plan.
4 guides
The beginner’s guide
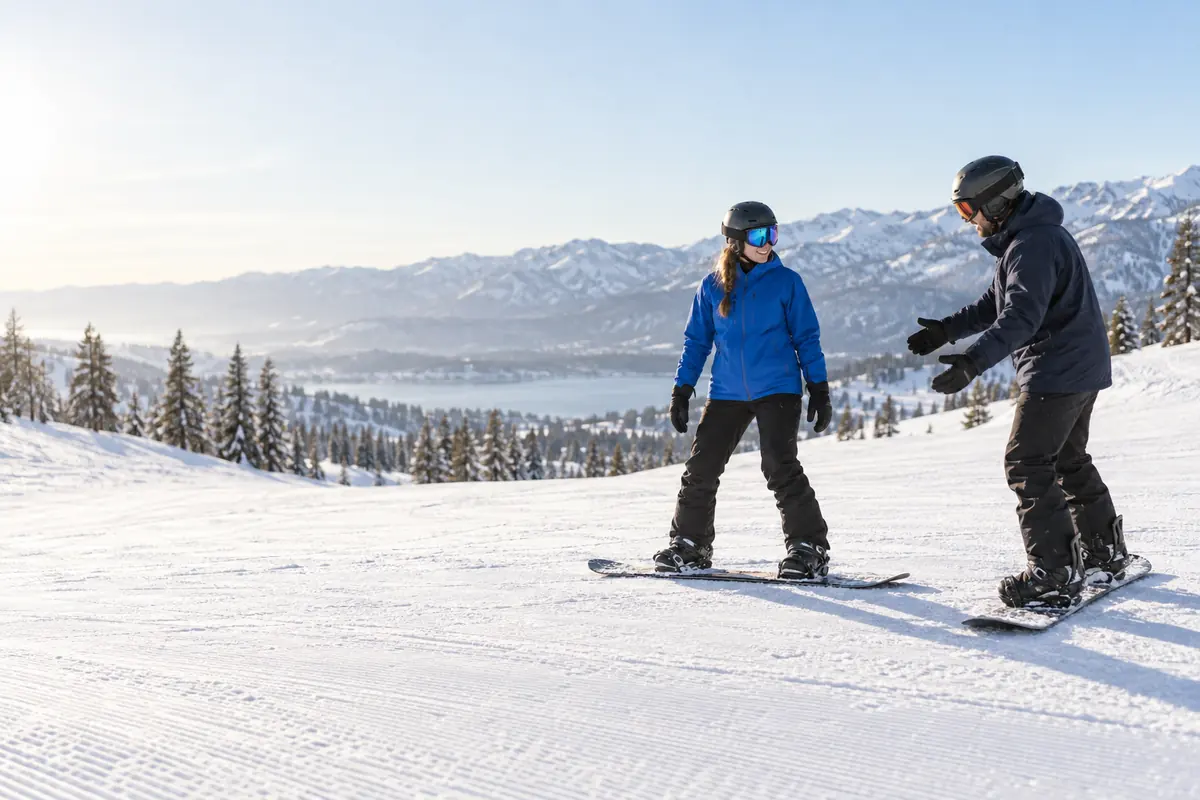
Learning how to snowboard is a sequence of small skills, each building on the last. Here is the whole path in one place, with links to a full lesson for each step.
The easiest way to learn to snowboard is with a beginner lesson from a qualified instructor, on gentle terrain set aside for learning. Book ahead if you can, arrange rental equipment, and dress in waterproof layers, because you will spend time sitting and kneeling in the snow on your first day.
The basic kit is a snowboard sized for you, boots that fit, bindings that match your boots, waterproof jacket, pants and gloves, goggles and a helmet. Renting the board, boots and helmet is the usual way to start; Burton’s beginner guide suggests that on a tight budget you put money into lessons before brand-new gear. Warm up with a few easy stretches before you ride and keep a water bottle and snack in your pocket, because tired, dehydrated legs learn slowly.
Our first-day snowboard checklist covers what to book, what to pack and what to do when you arrive.
Everyone rides with one foot forward. If you ride with your left foot forward you are “regular”; right foot forward is “goofy”. Neither is better. Find out which feels natural in find your snowboard stance.
Whichever foot leads, the basic body position is the same. REI’s beginner guide describes it as knees and ankles flexed with the knees over the toes, shoulders and hips in line with the board, and arms relaxed at your sides with a calm upper body.
Your boots should be snug with your heel held down, and your bindings set up for your stance. Rental staff can check both. Learn how to strap into a snowboard safely, and how to choose the right snowboard size if you are buying.
Before you ride with both feet strapped in, you will move around with just your front foot in the binding, pushing with your back foot like a skateboard. It is how you get around flat areas and into the lift line. See how to skate and glide on a snowboard.
A snowboard has two edges: the heel edge behind your heels and the toe edge in front of your toes. Tipping the board onto an edge makes it grip; flattening it lets it slide. You control almost everything on a snowboard this way.
Falling and getting up are part of learning too, and practicing them teaches you to find each edge. When you feel a fall coming, get low and sit down or drop to your knees rather than reaching out with your hands; wrist guards are worth considering for your first days. See how to fall safely and get back up.
Stopping comes before speed. With the board across the slope, you slide and stop on your heel edge facing downhill, then on your toe edge facing uphill. This controlled sideslip is the foundation for everything that follows. See how to stop on a snowboard.
When you can stop on both edges, you can start turning: steering from one edge to the other and finishing each turn across the slope to control your speed. Most beginner progressions build it in small pieces: the falling leaf (drifting left and right on one edge), J-turns that curve to a stop, a traverse across the slope on one edge, then a single C-turn from one edge to the other, and finally linked turns in a smooth S-shape. REI and Burton both teach versions of this sequence. See how to turn on a snowboard.
The best way to learn to snowboard is a mix of good instruction, the right terrain and short, frequent practice. These habits help most beginners:
Riding a lift on a snowboard means loading and unloading with one foot strapped in. Watch how others do it, tell the lift staff you are new, and ask them to slow the lift if needed. See how to use a ski lift on a snowboard.
After that, the next steps are yours to choose: carving, riding switch or your first tricks. Browse every lesson in the skills guides.
In this series
Common questions
The first days are usually the hardest, because you are learning balance and edge control from scratch and you will fall. Progress depends on the person, the conditions and the instruction. A lesson on gentle terrain makes the start much easier.
Some people do, but a qualified instructor helps you learn safely, choose suitable terrain and avoid habits that are hard to unlearn. Most beginners progress more comfortably with at least one lesson.
It varies a great deal from person to person. See how long it takes to learn to snowboard for what affects progress and the milestones to look for.
A snowboard, boots and bindings (most beginners rent these), a helmet, goggles, and waterproof jacket, pants and gloves over warm, non-cotton layers. Wrist guards and padded shorts are useful extras for the first few days.
Stance and strapping in, then skating and gliding with one foot, then edge control and stopping. Turning and riding the lift come after you can stop reliably.