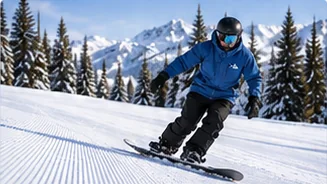
How to turn on a snowboard
Turn on each edge, change edges and link your first S-turns.
Next-level skills
Less skid, more edge
To start carving as a beginner, pick a wide, easy groomed run, roll the board onto one edge with your ankles and knees, and hold that edge so the board’s curved sidecut turns you instead of your shoulders. Practice one edge at a time, check that your track is a thin line, then link the turns.
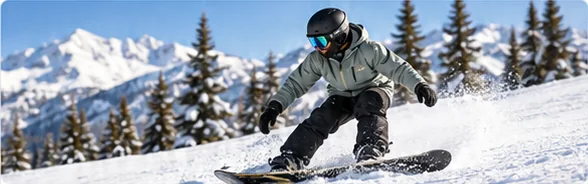
At a glance
Before this guide
Carving starts with tipping and holding one edge, not with speed.
If you are wondering how to carve on a snowboard for beginners, the short answer is: tip the board further onto its edge, keep it there, and let the board’s shape do the turning. You do not need to ride fast or lean dramatically. Your first carves will be shallow and slow, and that is exactly right.
Here is a simple way to start carving on your next day out:
The rest of this guide explains each part of that process in more detail. Before you begin, you should already be linking turns and stopping on both edges; carving is an intermediate skill, not a first-day one.
A skidded turn slides sideways; a carved turn follows the edge.
When you first learn to turn, the board slides sideways for part of each turn. That is a skidded turn, and it is a useful way to control speed. It leaves a wide, smeared mark in the snow.
In a carved turn, the board is tipped on edge and travels along that edge, so the tail follows the nose through the same line. The track is a thin, clean groove. Snowboards have a curved side profile, called sidecut. When the board is tipped and pressed into the snow, that curve bends the board into an arc and it turns without being twisted around.
The PSIA-AASI Northwest progression template describes the garland stage as balancing on the edge and letting “the sidecut create your turn shape.” In other words, good carving technique means less steering and more tipping. Most riders mix skidded and carved turns depending on the terrain, so carving is an extra tool, not a replacement for skidding. You will still skid in tight spots such as mogul fields where every turn is short.
Carve on wide, smooth, uncrowded groomed runs well within your ability.
Tip the board with your ankles, knees and hips, and stay centered.
Every carving technique you will hear about comes back to three jobs: tip the board onto its edge smoothly, keep your weight balanced over it, and hold that edge through the turn.
Each edge has its own feel, and most riders have a weaker side.
The movements are the same whether you ride regular or goofy. Only the direction changes: a goofy rider’s toeside turn curves the opposite way to a regular rider’s. Think in terms of toe edge and heel edge rather than left and right.
Spend the most time on whichever side leaves the messier track.
Build from standing still on an edge to linked carved turns.
The PSIA-AASI Northwest progression template breaks carving into three stages: static balance on the edge, then garlands, then the edge change. Here is a simple version to try, ideally with an instructor watching.
How long it takes to learn to carve varies widely with how solid your turns are, how often you ride, the snow and whether you have coaching. Measure progress by your tracks, not by the calendar.
Carved turns feel faster, so build speed in small steps.
Carving naturally carries more speed than skidding, and for many riders the speed is the scary part, not the technique. Confidence at speed comes from control, not bravery. We suggest:
Once carving feels natural at a moderate speed, you can start applying it to more challenging terrain, such as stepping up to steeper pitches and black runs, one small increment at a time.
Very high edge angles are an advanced skill best learned with coaching.
A eurocarve (euro carve) is a carved turn with so much edge angle that the rider’s body gets very low, sometimes with a hand or the upper body close to or touching the snow. It looks dramatic, but it is built on the same basics: a centered stance, progressive tipping and a clean, held edge.
Deep carves need space and control. Never practice them where you cannot see the run below you, and always be ready to stop.
Edge control is the foundation for every type of terrain.
Carving teaches you to trust your edges, and that skill carries into every other part of the mountain. Each of these guides builds on it, and each deserves its own practice time:
Reading about terrain does not qualify you to ride it. Move on only when you can control your speed and stop where you choose on the terrain below.
Practice goals
Checking a box records your practice. Ask your instructor when you are ready to progress.
In this series
Common questions
Make sure you can link turns and stop on both edges first. Then, on a wide, easy groomed run, ride across the slope on one edge, tip it a little further and let the sidecut curve you uphill. Check for a thin track, practice both edges, then link the turns.
Press your shins into the front of your boots and let your knees move toward the snow while your hips stay over the board. Hold the edge a moment longer than feels natural instead of rushing the turn.
The usual cause is sitting back toward the tail or folding at the waist. Lift your toes, move your hips over the heel edge with your back tall, and keep your weight centered between your feet.
Build speed gradually on a familiar run, stay low and flexed, look further ahead, and use the shape of each turn to control speed. Only ride as fast as you can stop from in the space you can see.
There is no fixed timeline. It depends on how solid your linked turns are, how often you ride, the snow conditions and whether you have coaching. Judge progress by your tracks rather than the number of days.
A carved turn with a very high edge angle, where the rider gets very low toward the snow. It is an advanced skill built on clean basic carving and best learned with coaching on smooth, uncrowded runs.
Up next
Turn on each edge, change edges and link your first S-turns.
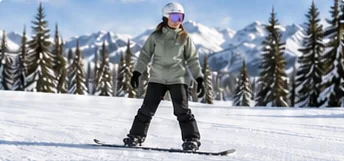
Stay in control on hard-packed and icy snow with better edge use.
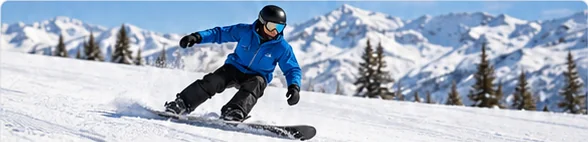
Step up to steeper runs gradually, with speed control on every turn.