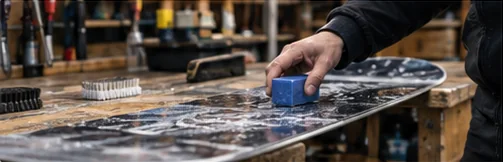
How to wax a snowboard
Hot wax your board at home: prep, iron, cool, scrape and brush.
Board care
Simple habits, fewer repairs
To tune a snowboard, clean and inspect it, fix any base damage, deburr and sharpen the edges, then finish with a hot wax. Maintaining a snowboard between tunes is simpler still: dry it after every ride, check it often and wax it when the base looks dry.
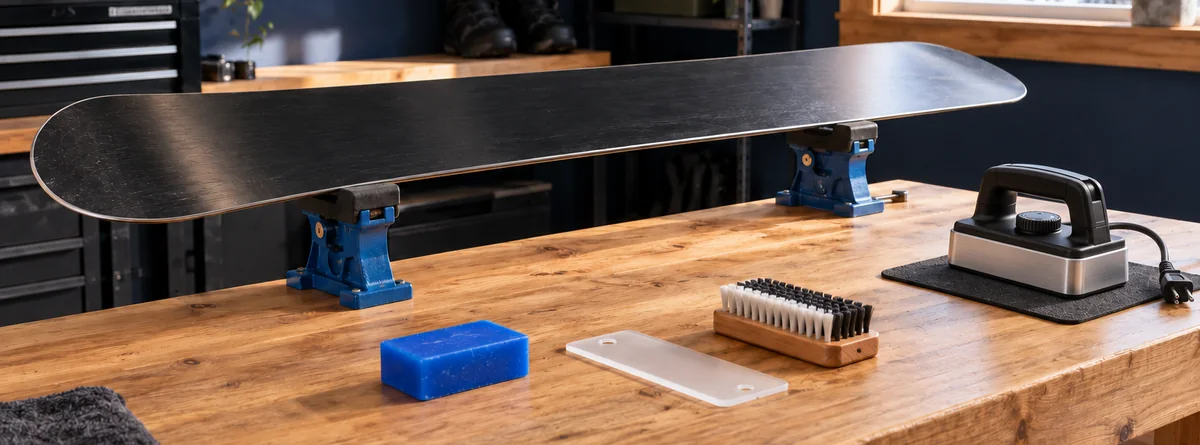
Tools and materials
You do not need everything at once. Start with what you will actually use.
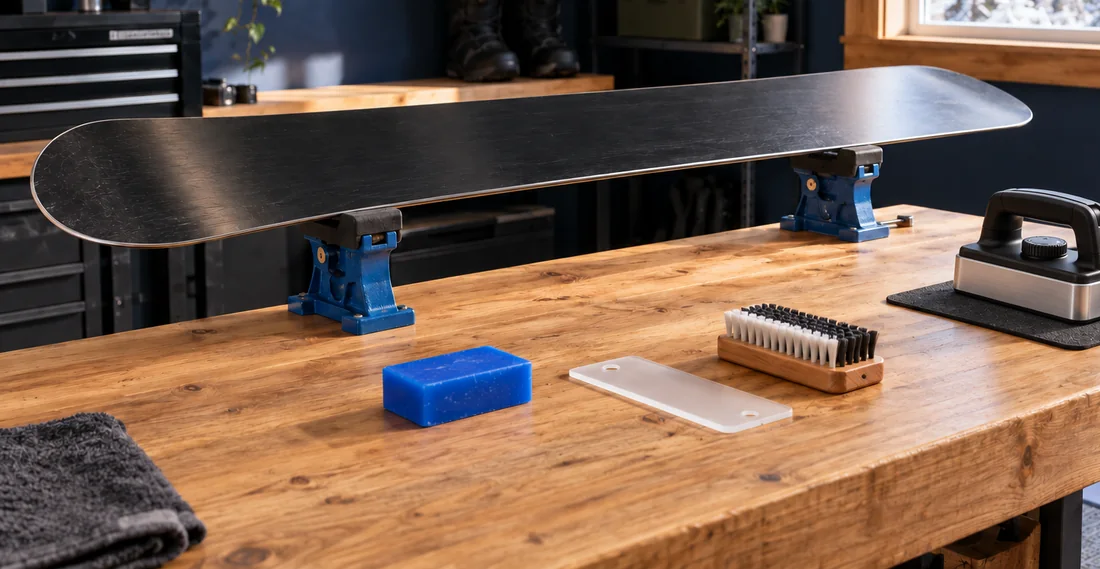
Hold the board steady, base up, for waxing and edge work.
A dedicated waxing iron and wax suited to the snow you ride.
A sharp plastic scraper to remove excess wax.
For finishing the base after scraping.
Set to your board’s bevel spec, for light edge work.
To check binding hardware, using the size and method in your binding manual.
Step by step overview
Wipe down the base, edges and topsheet after every riding day.
Look for dry base, burrs, rust, gouges and loose hardware.
Fix base damage and touch up edges, or book a shop service.
Wax last, when the base looks dry and before storage.
At a glance
A home tune is four jobs done in a set order.
Tuning a snowboard means getting the base and edges back to working condition: clean, repaired, sharp where they should be, and freshly waxed. The order matters, because each job leaves debris the next one cleans up.
A pair of vises or board supports makes all of this easier: clamp the board base-up at a comfortable height, pad the jaws if they touch the edges or topsheet, and keep bindings clear of the bench. How long a home tune takes depends mostly on how much repair is needed and how long your wax needs to cool.
Five minutes at the end of the day prevents most problems.
Day-to-day care needs no tools:
Your boots need drying too; see drying out wet boots and liners.
Every so often, and always before a tune, give the board a proper wash. In short: mild soap and water for the topsheet and everyday base dirt, a base cleaner or a hot scrape for ground-in grime, then dry everything. The methods, products and wait times are all in how to wash your board’s base and topsheet.
A clean board is the best time to tell whether it is in good condition. Check:
Waxing is the most frequent job. It helps the board glide, protects the base, and is the simplest way to make a snowboard faster. How often depends on the snow and how much you ride, so read the base rather than the calendar: spotting when your board needs wax explains the signs. A rub-on or liquid top-up is handy in between. Always use the iron temperature your wax maker recommends.
Edges need attention less often. Remove burrs and light rust with a stone, sharpen lightly with a guide set to your board’s bevel, and wipe away filings before waxing. Sharp, smooth edges matter most if you ride hardpack; our tips for riding icy slopes build on a well-tuned edge.
End of season. Clean the board, deal with any damage, and put on a generous storage coat of wax that you leave unscraped. Keep it somewhere cool, dry and out of direct sunlight; the full checklist is in off-season storage steps. If it will live on a wall, choosing and fitting a wall mount covers doing that safely.
Start of season. Scrape and brush off the storage wax, check the edges and base, wax for the conditions you expect, and check that binding hardware is secure and your stance is set the way you want.
New board. Ask the shop whether it has been waxed and check the manufacturer’s care information. Rome, for example, says its boards come factory waxed. If in doubt, a fresh wax before your first day is a sensible start.
Making it yours. Stickers, stomp pads and other personal touches are best added to a clean, dry topsheet; see ideas for personalizing your board.
There is no single schedule that suits every rider. Some manufacturers publish rules of thumb: Burton’s waxing guide recommends, at a minimum, tuning after every three uses and at the beginning and end of the season, while Rome suggests a basic check-up after a week’s riding, or at least monthly if you spend a lot of time on the hill. Use these as starting points and adjust for:
In practice, you will wax far more often than you sharpen. Rome says most riders don’t need to worry about sharpening their edges too often, and notes that rail riders may even want to de-tune their edges to prevent hook-ups, while fresh edges give more grip on icy snow.
Do simple jobs (drying, cleaning, waxing, light deburring) at home if you enjoy them. Take the board to a technician for:
We suggest leaving base grinding to a shop: its machines flatten the base and cut a fresh structure evenly, which is hard to match by sanding at home. Service names and contents differ between shops, so ask what each one includes and whether they set edges to your board’s factory bevel. For what shops typically charge and what drives the price, see what a shop wax or tune costs.
If a repair would cost more than the board is worth to you, ask about reuse or recycling options; see giving old gear a second life.
In this series
Common questions
Sharpen first, then wax. Edge work leaves metal filings that you want to wipe away before the wax goes on, and a fresh wax job should not be scraped up by later edge work.
There is no single interval. Burton recommends tuning at least every three uses plus the start and end of the season; Rome suggests a check-up after a week’s riding or monthly for frequent riders. Adjust for the snow you ride and what you see on the base and edges.
Look for an even base without deep gouges or exposed core, edges that are smooth and firmly attached, a topsheet without cracks or separating layers, and a board that is not warped. If in doubt, ask a shop to check it.
Towel the base, edges and topsheet, then let the board dry fully at room temperature before bagging it. Dry the bag too. Trapped moisture is what rusts edges.
Light repairs are fine at home, but we suggest leaving base grinding to a shop. Its machines flatten the base and cut structure evenly, which is hard to achieve by hand.
More board care
Hot wax your board at home: prep, iron, cool, scrape and brush.
Wash the base, topsheet and edges and lift out old wax.
Deburr, sharpen and detune your edges at home, or know when to use a shop.