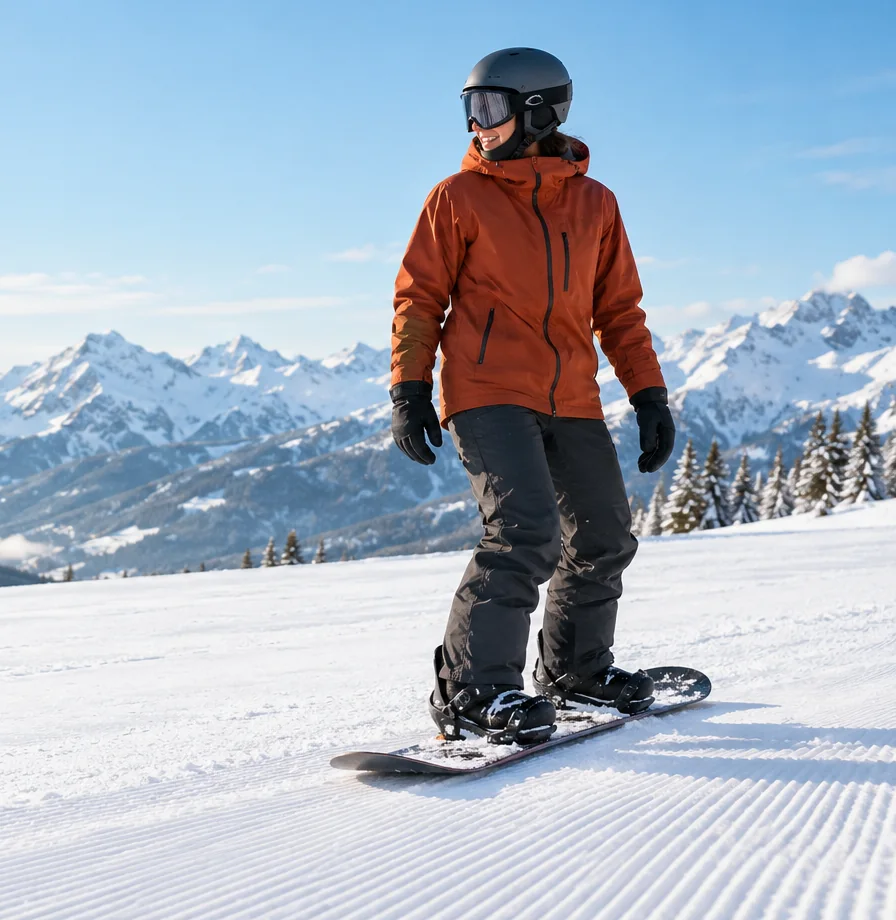
How to skate and glide on a snowboard
Push, skate and glide with one foot strapped in on flat ground.
Beginner skills
Before you ride
To put on a snowboard, lay it across the slope, knock the snow out of the binding, push your front heel all the way back, then ratchet the ankle strap and the toe strap until they are snug. Here is each step in detail, plus how to get back out.
At a glance
Before this guide
Six moves, the same way every time.
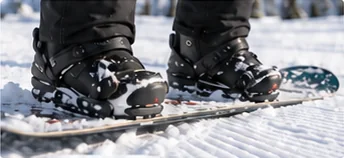
Strapping in is something you will repeat at the top of every run, so it pays to build a routine. The short version of how to put on a snowboard:
The sections below explain each step and what to do when something will not seat properly. Strapping in comes right after choosing your stance in our step-by-step beginner path, and before you learn to move on the board.
Strap in where the board cannot slide away and other people can see you.
Where you put on a snowboard matters as much as how. Look for a flat or very gentle spot at the side of the run, out of the way of people arriving from above and away from lift exits and busy paths.
Packed snow under your boot stops it seating properly.
Before your foot goes in, knock any snow out of the binding with your gloved hand: the baseplate, the heelcup and under the straps. Then clear snow from the sole of your boot, especially around the heel, by tapping it against the binding or the edge of the board.
Even a small lump of snow can stop your heel sitting fully back in the heelcup. You may not notice until you are riding and the boot moves around, or the strap will not tighten. If the highback has been folded down for carrying or storage, flip it back up now.
Open the straps fully so you can slide your boot in without fighting them. On most strap bindings you do this by lifting the ratchet’s release lever and pulling the strap out.
Heel back first, then settle the toes.
This is how to wear snowboard bindings properly: the boot sits deep and straight, and the straps only hold it there. If your toes or heel hang well over the edge of the board, or the boot will not fit into the binding, stop and get the setup checked. Bindings, boots and board width need to be compatible, and the fix is an adjustment, not more force. Our guide to matching bindings to your boots explains what to check.
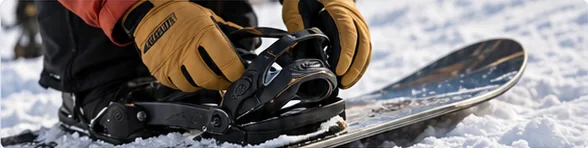
Ankle strap first, then the toe strap, both snug and comfortable.
Repeat with your back foot when you are ready to ride down. With both feet in, bend your knees, check you feel balanced and look uphill before you set off.
Lift the release lever, pull the strap out and step free.
To take off your snowboard, stop somewhere safe first and turn the board across the slope. Lift each ratchet’s release lever and pull the ladder strap out, ankle and toe. Lift your heel out of the heelcup and step free.
At the bottom of a run or before the lift you normally release only your back foot, so you can push along with it; skating with one foot free covers that. When you take the board off completely, keep hold of it or lay it upside down, bindings into the snow, so it cannot slide away.
If a ratchet is jammed with ice or will not release, do not force it. Knock the ice off, work the lever gently and ask a rental or repair shop to look at it if it keeps happening.
Step-in bindings work differently and need matching boots.
Some bindings let you clip in without straps. These systems need boots and bindings designed to work together, so always follow the manufacturer’s instructions for your system.
As one example, Burton explains that its Step On boots and bindings are only compatible with each other, with binding sizes made to match specific boot size ranges. Its guide says to press your heel back into the heelcup until you hear a click, press harder for a second click, then lean onto your toes so the toe cleats snap into the side hooks, and roll side to side to check both are locked. To get out, Burton describes pulling up the lever on the outside of the heelcup and lifting your heel while twisting it slightly, rather than straight up.
Other brands use different mechanisms, so check your own manual rather than assuming every step-in works the same way. Whatever you use, the next move is learning to push and glide with your front foot in.
Practice goals
Checking a box records your practice. Ask your instructor if anything feels loose or uncomfortable.
Common questions
Your front foot. You skate and ride lifts with only the front foot attached, so you strap it in first and add the back foot when you are ready to ride down.
Yes, once you are confident. Keep the board across the slope so it cannot slide, and balance on your strapped-in foot while you fasten the other. Most beginners find sitting on the uphill side steadier at first.
Snug enough that your heel stays down when you lean onto your toes, but not so tight that it hurts or your feet go numb. If you cannot find a comfortable setting, the strap length may need adjusting as described in your binding manual.
Stop somewhere safe with the board across the slope, lift the release lever on each ratchet, pull the strap out and lift your heel out of the heelcup. Step-in systems have their own release lever; follow the manufacturer’s instructions.
Usually snow is packed under the boot or in the heelcup. Clear it and try again. If the boot still does not fit, the binding may need adjusting or may not suit your boot size, so have a shop check it.
Up next
Push, skate and glide with one foot strapped in on flat ground.
Mount, install and remove bindings with the right hardware.
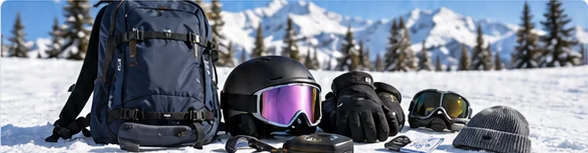
Everything you need to feel prepared for a great first day on snow.