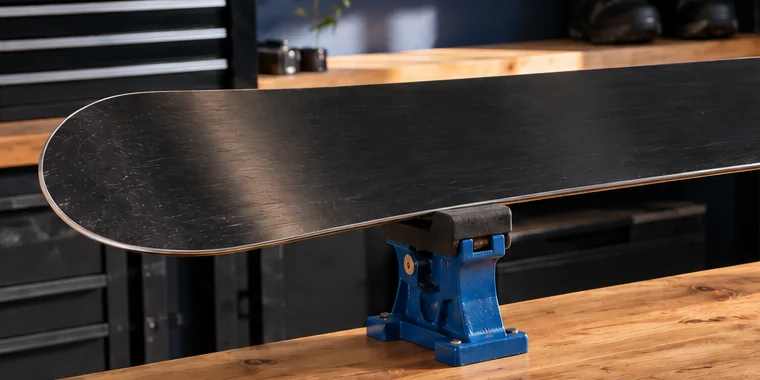
Snowboard topsheet and edge repairs
Sort cosmetic chips from structural damage and know what to repair where.
Board care
Topsheet only
To paint a snowboard, clean and lightly prep the topsheet, mask the edges and sidewalls, then spray thin coats of a paint made for plastic and let it cure fully. Check your warranty first, and never paint the base.
Part of Snowboard maintenance and repairs
Step by step overview
Read your brand’s terms or ask the retailer before making changes.
Keep it on the topsheet, clear of edges, inserts and the base.
Clean and dry the topsheet so paint or stickers bond.
Follow the product label and let everything set before riding.
At a glance
The most permanent option, so prep and test carefully.
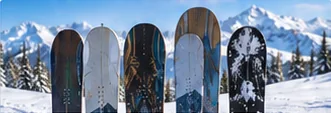
Painting is how most people repaint a snowboard or change its graphics completely. The factory artwork sits in the board’s top layer, so you can’t swap it out; you paint or cover over it. Here’s a sensible order of work:
Expect painted artwork to chip over time; that’s wear, not a defect. If a chip goes through the topsheet, seal it using our chip and crack repair steps.
Customizing is about how the board looks, not how it rides, but it can still matter if something goes wrong. Burton’s warranty page (checked 23 September 2026) limits cover to defects in materials and workmanship; misuse, accidents, neglect and ordinary wear are not covered. Burton’s process also asks for photos of the item, which is harder if the original topsheet is painted over. Terms differ by brand and country, so:
Stickers are the easiest change to reverse. Paint and permanent wraps are much harder to undo.
Stickers are the simplest way to decorate your snowboard, and sticker bombing (covering the topsheet with overlapping stickers) is a popular look.
Vinyl wraps work the same way on a bigger scale. To install a snowboard wrap, choose a vinyl made for outdoor use, follow the maker’s application instructions, and trim it neatly inside the edges. It’s a bigger commitment than stickers, so check the warranty first. We’d skip add-ons like battery lights stuck to the board: anything that sticks out can snag, and nothing should go near the edges or bindings.
Removing a large wrap takes patience. Work in small sections and stop if the topsheet starts to lift with it.
These rules sit alongside the rest of your everyday board upkeep. If a board has reached the end of its riding life, it can become a blank canvas for wall art; see ideas for reusing an old board.
You can, but it’s riskier than painting a board. Boots flex constantly, so paint tends to crack, and solvents or glue can affect the materials, laces, BOA dials and waterproofing. Like any customization, it may also affect the warranty, so check your brand’s terms first.
If you go ahead, keep it cosmetic: use a product made for the boot’s outer material, test a hidden spot, keep it away from the liner, lacing system and sole, and let it cure fully. Many riders find colored laces a lower-risk way to change the look. Our guide to cleaning and drying boots covers prep that helps.
Common questions
You can spray paint the topsheet with a paint made for plastic, after cleaning, light prep and masking the edges and sidewalls. Use thin coats, let it cure fully, and check your warranty first. Never paint the base.
No. The base needs to absorb wax and glide, and paint would wear off quickly and interfere with both. Keep paint and stickers on the topsheet.
Try warm soapy water and a soft cloth first. If you need an adhesive remover, pick one labeled safe for plastics, pre-test it on a hidden spot, then wash the area with soapy water. Keep it off the base and edges.
Slide the board into its bag, or wrap it in cardboard or bubble wrap to protect the edges, then add gift paper. Keep tape off the topsheet and base where you can to avoid residue, and leave bindings unmounted if the recipient will set them up; our guide to mounting and setting up bindings helps them later.
It depends on the brand and the change. Warranties generally cover manufacturing defects, not owner damage or wear. Check your brand’s terms or ask the retailer, and photograph the board before you start.
More board care
Sort cosmetic chips from structural damage and know what to repair where.

Fit a stomp pad and use a leash to keep your board under control.
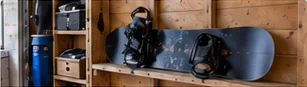
Display or store your board on a wall, safely and securely.