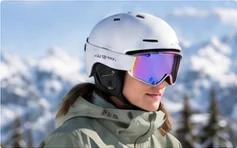
How to choose and fit a snowboard helmet
Measure, fit, adjust and replace a snowboard helmet.
Gear guide
Plan, mount, film safely
To make ski and snowboard videos more dynamic, mix shot types (follow cam, static, POV and wide), keep the camera steady and level, and cut tightly to the music. The same footage, filmed from a safe spot, is also one of the best ways to review and improve your own riding.
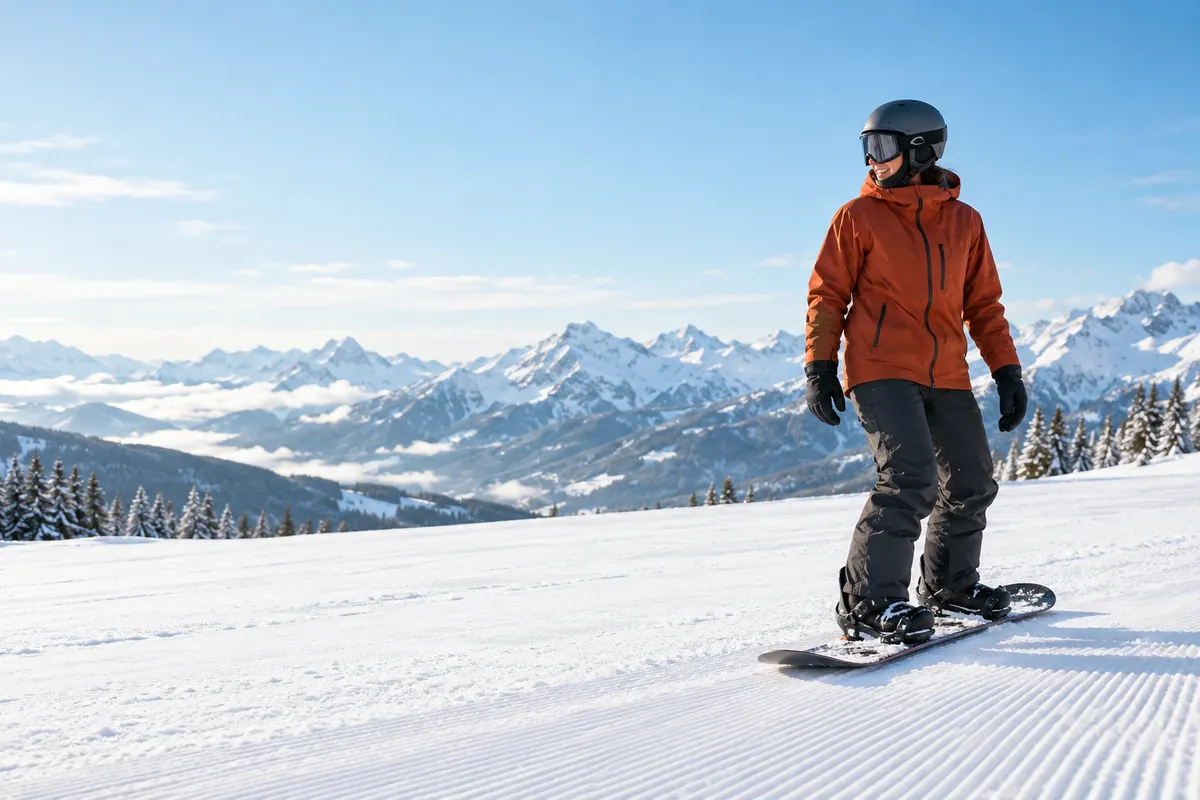
At a glance
Variety, movement and pace, planned before you press record.
The quickest way to make ski and snowboard videos more dynamic is variety. A single long POV clip from a helmet camera tends to look flat. Cut between a wide shot of the mountain, a follow cam behind the rider, a close static shot as they pass and a slow-motion replay, and the same run suddenly has energy.
Three habits make the biggest difference:
Light matters too. Flat light makes snow look gray and hides terrain, while sun from the side shows texture and spray.
Pick three or four of these for every video.
| Shot | How to get it | Best for |
|---|---|---|
| POV | Camera on your helmet or chest | Trees, powder, what the rider sees |
| Follow cam | A second rider films from behind with a handheld or helmet camera | Showing body and terrain together |
| Static | Camera held still or on a small tripod at the side of the run | Turns, jumps, slow motion |
| Pan | Operator stands still and turns smoothly to track the rider | Carves and long traverses |
| Low angle | Camera mounted on the board or held near the snow | Spray, speed, butters |
| Wide establishing | Mountain, lift or village views | Setting the scene between clips |
Only film follow cam if the person filming can ride that terrain comfortably and in control, with their eyes on the slope rather than the screen.
Use mounts made for your camera and helmet, and follow both makers’ instructions.
Helmet mounts are the most common way to film snowboarding hands-free. Options include adhesive mounts that stick to the shell, strap mounts for vented helmets and goggle-strap mounts. GoPro’s Helmet Front + Side Mount page, for example, describes a mount for the front or side of helmets with a swivel for adjusting the angle, and its curved and flat adhesive mounts page says the adhesive can be removed by applying heat and peeling the mount off.
Both pages carry the same warning: always select a helmet that meets the applicable safety standard, and always follow the helmet manufacturer’s instructions on safe helmet use. Before you attach anything:
Low angles look great, but the mount must never affect how your bindings hold you.
Board and binding mounts give low, dramatic angles, but they take a lot of vibration and impact. Only use mounts designed for snowboards or bindings, and check they don’t interfere with straps, highbacks or boot fit. Never drill into your board or bindings. If a mount changes how your binding holds your boot, take it off; our binding setup guide explains why that fit matters.
A camera on a short extension pole is a simpler way to get low or selfie angles. Use a wrist strap, keep the pole short near people and lifts, and put it away when you’re not filming.
A short, well-framed clip shows what you can’t feel.
Video isn’t only for highlight reels. Freestyle instructors are assessed partly through video analysis, according to PSIA-AASI’s performance guide, and learners can borrow the idea: a clip often reveals leaning back, a stiff upper body or a spin that starts before the pop.
This is especially useful as you work through our freestyle skills in order, from switch turns to straight airs on small jumps and your first 180s.
Getting the shot never comes before everyone’s safety.
Filming makes it easy to lose awareness. The NSAA Your Responsibility Code applies whether or not a camera is rolling: always stay in control, stop only where you’re visible from above and don’t restrict traffic, and look uphill before starting downhill.
Resorts set their own rules on filming, commercial shoots, tripods and drones, and many restrict drones without permission. Check the resort’s website or ask guest services first.
Drone law also applies. In the US, the FAA’s recreational flyers page (checked 23 September 2026) says you must register a drone that weighs 250 grams (0.55 lbs) or more, take the free TRUST test and carry proof, and fly within visual line of sight. In the UK, the Civil Aviation Authority publishes the Drone and Model Aircraft Code, covering where you can fly and how to make every flight safe. Elsewhere, check your national aviation authority.
Good editing is where footage becomes a video people finish watching.
Batteries, condensation and snow on the lens cause most lost shots.
Your helmet and goggles need care too. See fitting a snowboard helmet and cleaning goggle lenses without scratches.
Common questions
Check your helmet maker’s guidance first, then use a mount designed for helmets, such as an adhesive, strap or goggle-strap mount. GoPro says to use a helmet that meets the applicable safety standard and to follow the helmet maker’s instructions. Add a tether.
Only use mounts designed for snowboards or bindings, and make sure they don’t interfere with straps, highbacks or boot fit. Never drill into your board or bindings.
Mix shot types such as follow cam, static, low-angle and wide shots, keep footage steady and level, record a little before and after each run, and edit tightly to the music with varied pace and angles.
Take turns filming follow cam or static shots from the side of the run, where you’re visible from above. Only follow on terrain you both ride comfortably, and keep your eyes on the slope rather than the screen.
Yes. A side-on clip of several attempts shows habits you can’t feel, such as leaning back or spinning too early. Review it with a coach, and only film from safe spots away from landings.
Only if the resort allows it and you meet your country’s drone rules. In the US, the FAA requires recreational flyers to pass the free TRUST test and register drones of 250 grams or more. Check with the resort first.
Related guides
Measure, fit, adjust and replace a snowboard helmet.
The safe order for learning freestyle tricks, with coaching.
How park jumps work and how to start small with coaching.