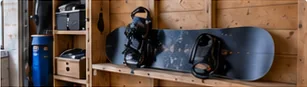
How to store a snowboard
Clean, dry, wax and store your board so it is ready next season.
Gear guide
Rated mounts, solid fixings
To hang a snowboard on a wall, choose a mount made for snowboards, fix it into studs or with anchors rated for your wall, check it is level, and test it before you let go of the board. The details below cover horizontal and vertical mounting, DIY options and keeping the board in good shape while it hangs.
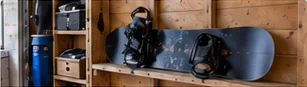
Wall mounting
Choose a snowboard mount that states what it holds and which walls it suits.
Find studs, or pick anchors rated for drywall or masonry, and check for cables and pipes.
Hold the board in place with a helper and mark level positions for the supports.
Install per the instructions, then load the mount gently before letting go.
At a glance
Pick a mount designed to hold a snowboard, with a stated load and wall type.
The first step in hanging a snowboard on the wall is choosing the right hardware. Snowboard wall mounts come in a few common styles:
Whatever style you choose, look for a mount the manufacturer describes as suitable for a snowboard and that states what it can hold and which wall types it is meant for. Padded or rubber-coated contact points are kinder to your topsheet and edges. Check that the mount fits your board’s width and thickness, and whether it holds a board with bindings attached; bindings add weight and change where the board balances.
The fixing into the wall matters as much as the mount itself.
Before you mount a snowboard on a wall, work out what the wall is made of. The fixings that come with a mount may not suit every wall, and the mount’s rating only applies when it is fixed the way the instructions describe.
Check for hidden cables and pipes before you drill. Detectors help, but if you are unsure what is behind a wall, or you rent and need permission to drill, speak to a qualified contractor or your landlord first. Adhesive hooks and strips are generally not designed for the weight and leverage of a snowboard; only use them if their maker specifically rates them for this use.
Always follow the installation instructions supplied with your mount. As a general order of work:
Use two supports spaced so the board balances securely with room to spare at each end. A spirit level matters here: mark both supports at exactly the same height so the board cannot creep toward one side. Horizontal mounting takes more wall width but makes it easy to lift the board off on your way out.
Use a mount designed to hold the board upright so it cannot slide or tip out, rather than two pegs. Vertical mounting saves wall width and shows off the full graphic, but it puts more load on a single fixing point, so fix into a stud or use anchors rated well above the board’s weight.
Either way, hang the board high enough that people will not walk into the nose or tail, but not so high that lifting it off becomes awkward or unsafe. In a child’s room or a busy area, choose a mount that holds the board positively rather than simply resting on pegs.
A DIY snowboard wall mount is possible, for example a pair of wooden blocks or a rail with a padded lip, but you then take responsibility for the load and fixings. If you build your own:
If you are unsure about any of this, buy a purpose-made mount and follow its instructions.
A board on the wall should come down ready to ride.
You can leave bindings on or take them off. If you remove them, keep the screws and mounting hardware together so nothing goes missing, and use our binding setup guide when you put them back on.
Hanging a snowboard on the wall can mean two different things, and each has slightly different needs.
For full off-season preparation, including cleaning, waxing and where not to keep a board, read our summer storage checklist. If you share a building or garage, locking and securing your snowboard may also help, and our board tuning and upkeep hub explains what to check before the board comes down for your next trip.
Common questions
Use a purpose-made snowboard wall mount rated for the board, fixed into the wall with fixings that suit your wall material, and installed following the mount maker’s instructions. Padded contact points help protect the board.
Either works with the right mount. Horizontal mounts use two supports and make it easy to lift the board off. Vertical mounts save wall width and show graphics well, but need a mount designed to hold the board upright securely.
Screws alone do not hold well in drywall. Fix into studs where possible, or use wall anchors rated for the load, and follow the mount instructions. Check for hidden cables and pipes before drilling.
Yes, if the mount is designed for it. Bindings add weight and change the balance point, so check the mount’s instructions and make sure the board sits securely before letting go.
Not if the mount is padded, the board is not clamped so tightly that it bends, and the spot is out of direct sunlight and away from heat. Dry and wax the board before it goes up for a long stay.
Related guides
Clean, dry, wax and store your board so it is ready next season.
Lock your board properly and cut the risk of theft.
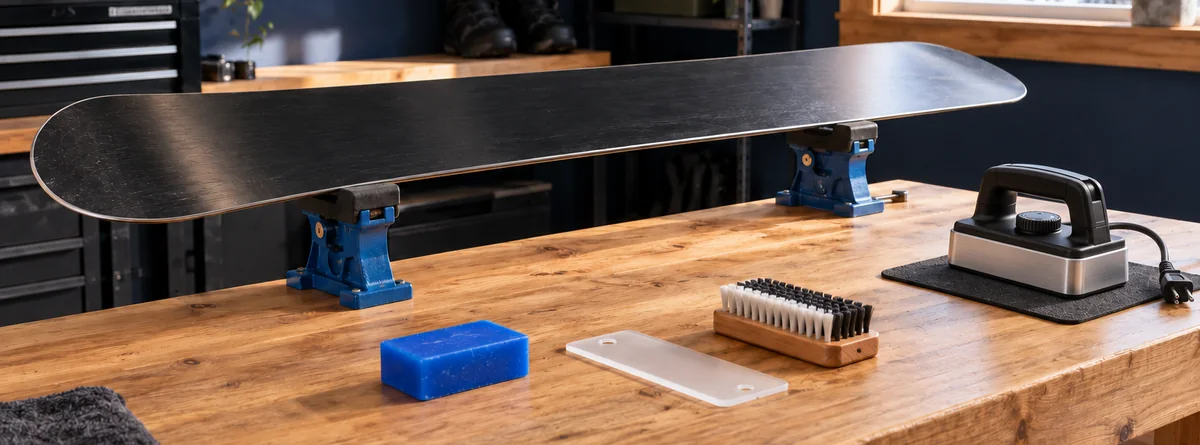
A simple routine to clean, check, wax and tune your snowboard.