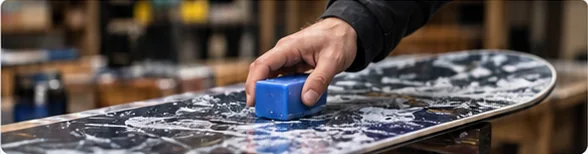
How often to wax your snowboard
Spot the signs your base needs wax and plan waxing around how you ride.
Board care
To wax a snowboard, dry and wipe the base, melt hot wax onto it with an iron set to the temperature on your wax, let it cool, then scrape and brush. Here is the full hot-wax process, step by step, plus how long each stage takes.
Part of Snowboard maintenance and repairs

Tools and materials
A few simple tools and materials will help you get a smooth, even result.
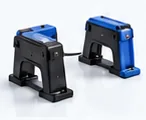
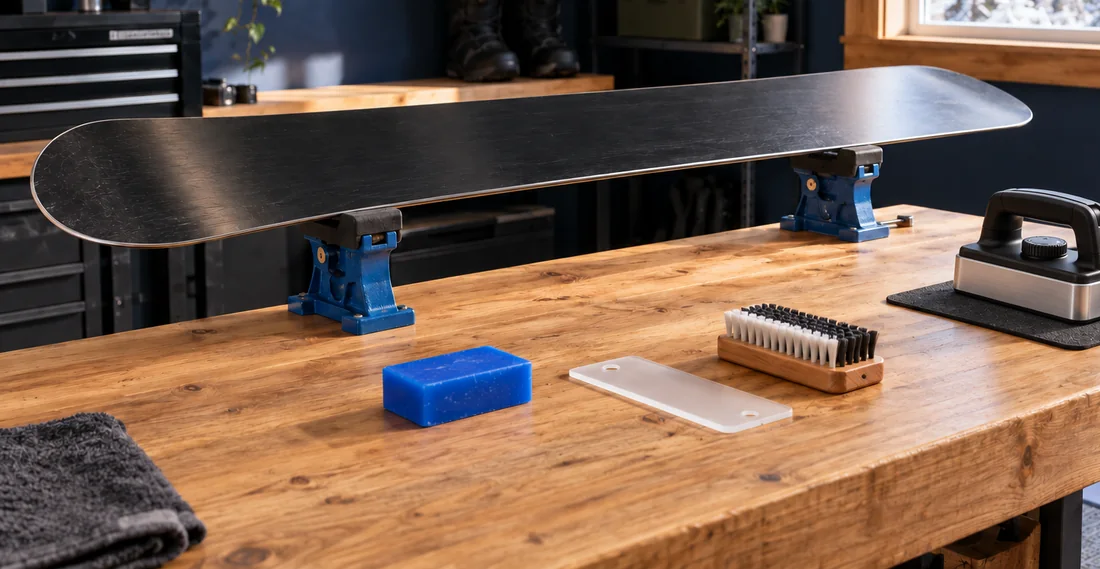
Vises or supports keep the board stable, base up, at a comfortable working height.
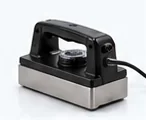
A ski and snowboard waxing iron with an adjustable, steady temperature.
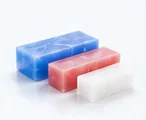
A hot wax suited to the snow temperatures you expect to ride in.
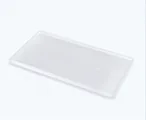
Removes excess wax once it has cooled. Keep the edge sharp and straight.
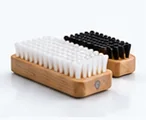
Finishes the base and clears wax from the structure for a smooth feel.
Step by step overview
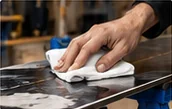
Set up a clean, ventilated space. Remove dirt from the base so the wax can bond.
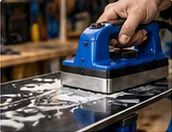
Melt the wax onto the base and spread it evenly with a smooth, steady motion.
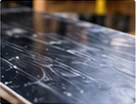
Let the wax cool at room temperature, as long as the wax maker recommends.
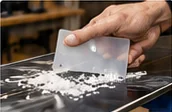
Use a plastic scraper from tip to tail until the base looks clean and even.
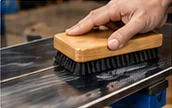
Brush from tip to tail to remove remaining wax and bring back a smooth finish.
A stable board and a ventilated space make waxing easier and safer.
You can wax a snowboard at home with a small set of tools: something to hold the board, an iron, wax, a scraper and a brush. Work somewhere with good ventilation and a surface you do not mind getting wax on, such as a garage bench, and lay down a sheet or old towel to catch shavings.
Read the instructions for your wax and iron before you begin. They set the temperature and cooling time for that product, and they take priority over any general guide, including this one. Burton’s waxing guide, for example, notes that most waxes list a recommended iron temperature on the packaging and suggests starting on a medium setting if you are unsure.
Plan for a short hands-on session plus a longer wait while the wax cools.
Plan for the hands-on work plus the cooling time your wax calls for, which can be longer than the work itself. Burton’s guide says properly waxing a snowboard “should take between thirty minutes and one hour, depending on how experienced you are.” Your first attempt will take longer while you learn the steps.
The time splits into two parts:
There is no single number, so use the time on your own wax. For comparison, here is what several makers publish (checked 23 September 2026):
| Source | What its instructions say about cooling |
|---|---|
| RaceWax (wax maker) | “Let ski cool. This takes 30-60 minutes.” It also warns: “Don’t cool fast (e.g., don’t put them outside in the cold).” |
| Toko (wax maker), care manual for skis and snowboards | Scrape the base “after about an hour,” and notes that “the longer you leave the wax to cool and, therefore, harden, the faster the skis/boards will be.” |
| mountainFLOW (wax maker), hot-crayon method | “Let the ski cool for ~15 minutes” before scraping, for that particular technique. |
| Rome (board maker) | “Leave the board to cool down for at least a half hour, then remove the excess wax.” |
| Burton (board maker) | Let the wax “dry and cool a bit (slightly warm to the touch is best)” before scraping. |
Two of these guides are written for skis, but the same waxes go on snowboards. The practical takeaway: let the board cool at room temperature, not outside, and scrape within the window your wax maker gives. Many riders who are not in a hurry simply leave the board overnight, which fits Toko’s point about longer cooling.
If you would rather hand the job over, a shop can wax the board for you; turnaround depends on how busy they are. What shops charge and what a basic wax includes are covered in our breakdown of shop waxing prices.
Only hot-wax the base. Keep wax and the iron off the topsheet and bindings. No iron at home? A rub-on or liquid wax is the fallback; see waxing with no iron.
Leave the board at room temperature for the cooling time on your wax (see the comparison above). Do not put it outside or in the cold to speed things up; RaceWax explains that cooling fast closes the base’s pores and forces wax back out.
When the wax has set:
Keep the scraper sharp; a dull, rounded edge smears wax instead of lifting it.
Brushing removes the last of the surface wax from the fine texture in the base, known as the structure, which helps the board glide.
The base should feel smooth and look evenly waxed, with no visible lumps. Your board is ready to ride. To judge when it needs the next coat, see signs your base is running dry.
New boards usually leave the factory with some wax on them, but the amount and type vary. Rome, for example, says all its boards come factory waxed. Many riders still give a new board its own wax before the first day or after the first few days. Check what the manufacturer or retailer says about the board’s factory finish, then follow the steps above; the process is the same as for any other wax.
Scraping and brushing after each wax removes the surface layer. To lift old, dirty wax out of the base, wax makers such as RaceWax describe a hot scrape: iron on a soft wax and scrape it off while it is still warm, repeating until the scraped wax comes off clean, then wax as normal. The full method sits in our board-cleaning guide.
Before storing a board for the summer, many riders leave a layer of wax unscraped to protect the base, then scrape and brush it before the first ride. See putting your board away for summer. Waxing is one part of a wider routine of edge, base and binding checks set out in our board tuning and care hub.
Common questions
Use the time on your wax. Published instructions vary: RaceWax says cooling takes 30 to 60 minutes, Toko’s manual says to scrape after about an hour, and mountainFLOW gives about 15 minutes for its hot-crayon method. Cool the board at room temperature, never outside.
A purpose-made waxing iron is the safer choice because it holds a steady temperature. A household clothes iron can run hotter or less evenly and may scorch the base. If you use one anyway, keep it moving, use the lowest setting that melts the wax, and never use it for clothes again.
There is no single correct temperature for every wax. Use the setting on your wax’s packaging, keep the iron moving, and turn it down if the wax smokes.
Not usually. Many riders wax with bindings mounted, using supports placed so the board sits level. Keep the iron and hot wax away from the bindings and topsheet.
No. Hot waxing needs a few tools and some patience rather than special skill. The main things to get right are a dry, clean base, an iron temperature that melts the wax without smoking, and enough cooling time before you scrape.
More board care
Spot the signs your base needs wax and plan waxing around how you ride.
Wash the base, topsheet and edges and lift out old wax.
Deburr, sharpen and detune your edges at home, or know when to use a shop.