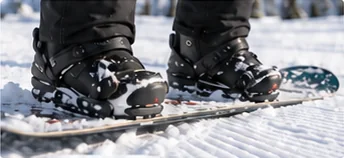
How to strap into a snowboard
Fasten and release your bindings safely and get a snug, secure fit.
Gear guide
Laces, speed-lace, BOA
To put on snowboard boots, open every lace or dial fully, slide your foot in, kick your heel back into the heel cup, tighten the inner liner, then tighten the outer boot from the foot up to the ankle. Loosening is the same in reverse, and each closure type has its own release.
Part of Snowboard boots
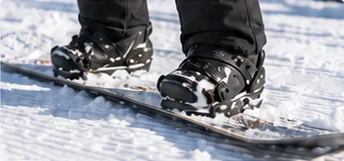
At a glance
The first minute decides how well the boot holds you all day.
Here’s how to put on snowboard boots of any type. Sit down on a bench or chair first; it’s much easier than balancing.
How to wear snowboard boots with pants: the pant leg goes over the outside of the boot, with the inner gaiter pulled down over the cuff to keep snow out. Never tuck pants inside.
Classic laces give fine control over each part of the boot.
Burton’s lacing guide says to lace from the bottom, pulling tight enough to hold your foot in place but not so tight it hurts. In practice:
Traditional laces are hard to adjust with gloves on and can loosen during the day, so check them on the lift.
Speed-lace boots use pull handles instead of knots, often split into a lower foot zone and an upper ankle-and-shin zone. Burton describes its Speed Zone system as pulling up to tighten and back to lock, then tucking the handles into pockets on the side of the boot. The usual pattern:
Other brands route and lock their laces differently, so check your manual for the exact lock position.
BOA boots use a dial that winds a thin steel lace through guides. Burton sums it up as “twist to tighten the laces and pop the coiler out to loosen,” and notes that adjustments can be made wearing gloves or mittens. Some boots have one dial; others have two or more for separate zones.
Dial designs vary between BOA generations and boot brands, so follow your boot’s instructions if yours behaves differently.
Tighten your boots enough that your heel stays down when you lean forward and the boot supports your shin, but stop before your toes go numb or you feel pins and needles. Many riders keep the boots a little looser for walking and lift rides, then tighten them before the first run.
If you have to crank the boots extremely tight to stop your heel moving, the size or shape may be wrong. Recheck the fit with our guide to sizing snowboard boots, and for heel-hold add-ons such as J-bars see fixing heel lift and breaking boots in. Once your boots feel right, you’re ready to get into your bindings.
Release tension fully before you pull your foot out.
Whether you want to loosen snowboard boots a little on the lift or undo them completely at the end of the day, release the outer system first, then the liner.
At the end of the day, pull the liners so they dry; our boot drying and cleaning routine explains how.
A dial that won’t turn or release, a frayed speed-lace or a snapped steel lace shouldn’t be forced. For Burton BOA boots, Burton says replacement lace kits come from BOA through a BOA warranty claim, and that BOA components are covered by BOA’s own guarantee. Our guide to replacing BOA laces and other boot repairs walks through the parts and steps.
Some boots combine systems (for example a BOA dial with a speed-lace liner), and step-on style boots add a binding interface. Keep the printed guide that came with your boots, or note the model name so you can find its instructions online.
Common questions
Pull the dial outward to release the tension; Burton describes this as popping the coiler out. Some dials also let you turn back a click or two for a small adjustment. Never force a dial that won’t release.
Take each handle out of its side pocket, pull it out of the lock and open the lace loops at the top of each zone. Then release the liner lace and open the tongue.
Tight enough that your heel stays down when you flex forward and your shin is supported, but loose enough that your toes don’t go numb. Loosen slightly if you feel pins and needles.
A bow or double knot both work; the key is tucking the ends into the cuff or lace pocket so they can’t snag on your bindings. Check the laces on the lift, as they can loosen during the day.
There’s no fixed schedule. Replace them when your heel lifts even with the boot tightened well, the boot has gone much softer, or the sole or shell is failing. A broken lace or dial alone is usually repairable.
Related guides
Fasten and release your bindings safely and get a snug, secure fit.
Heat mold, break in and stop heel lift in snowboard boots.
Fix BOA dials, laces, liners and soles, or know when to get help.