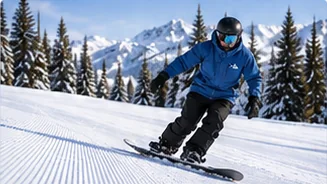
How to turn on a snowboard
Turn on each edge, change edges and link your first S-turns.
Next-level skills
Opposite foot forward
To ride switch, go back to a gentle, quiet slope and rebuild the basics with your other foot in front: sideslips, falling leaf, single turns, then linked turns. It feels like day one again, and that’s normal.
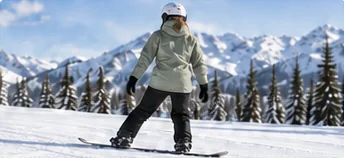
At a glance
Before this guide
Switch is a new skill built on old ones, so your normal riding needs to be solid first.
How to ride switch on a snowboard, in one line: ride with your non-dominant foot at the front, starting on terrain that feels almost too easy, and relearn sideslips and turns in that direction. If you normally ride regular (left foot forward), switch puts your right foot forward; goofy riders do the reverse. People often call it riding backwards, although you’re simply leading with the other end of the board.
Before you start, you should be able to do these comfortably in your normal stance:
Expect switch to feel clumsy. Your balance and timing were learned with the other leg leading, and they need time to catch up. A lesson with a qualified instructor can shorten this phase, because they can spot the small stance and weighting habits that make switch feel awkward.
Your setup affects how natural switch feels, but check your own manuals before changing anything.
Many freestyle riders set their bindings so both feet point slightly outward (a “duck” stance), because it feels similar whichever way the board travels. A stance with both feet angled toward the nose tends to feel comfortable one way and awkward the other. There is no single correct setup: the right angles and width depend on your body, board and bindings.
If you want to change your angles, our guide to setting binding angles and stance width walks through it; use it together with the instructions for your specific bindings and board. If you’re unsure, ask a qualified shop technician to check the mounting before you ride.
Board shape matters too. A twin is designed to ride the same in either direction, while a directional board has a distinct nose and tail and may feel different ridden switch. You can learn switch on either, so there’s no need to buy anything just for this skill. If you’re shopping anyway, see choosing a board for how you ride.
Wear a properly fitted helmet with the chin strap fastened. Early switch practice involves more falls than usual.
Go back to the easiest slope you can find and relearn day-one skills with the other foot forward.
Choose a wide, quiet, gentle run with a flat run-out. Then work through these steps in order:
Keep your eyes looking where you’re going, over your new leading shoulder. Many people ride switch while staring back up the hill in their old direction, which twists the upper body and makes turns hard to start.
Once you can drift both ways in control, make single turns, then join them together.
A switch turn uses the same ingredients as a regular turn: look where you want to go, let your upper body lead gently, and move pressure from one edge to the other. The difference is that your new front leg now does the steering work the other leg used to do.
Keep your weight centered or very slightly over your new front foot. Leaning back toward your usual front foot is the most common reason switch turns feel stuck.
As a benchmark, PSIA-AASI’s Freestyle Specialist Performance Guide asks entry-level freestyle instructors to show “basic skidded medium-radius switch turns on green terrain.” That’s a useful target for you too: skidded, controlled turns on an easy run, not fast carves.
Little and often beats one long, frustrating session.
If you want to get better at riding switch, repetition beats intensity. Some easy ways to build it into your normal days on the hill:
Switch is the base for most freestyle skills. Every half-rotation spin lands switch, and many nose and tail butters finish with the board pointing the other way. To see where switch fits among ollies, jumps and spins, read our overview of the order to learn freestyle tricks.
Most switch problems come from a handful of habits carried over from your normal stance.
Practice goals
Checking a box records your practice. Ask your instructor when you are ready to progress.
Common questions
Riding switch means riding with your opposite foot forward. A regular rider (left foot forward) rides switch with the right foot forward, and a goofy rider does the reverse.
Yes, that’s what most people mean by snowboarding backwards. You still face across the board as usual; you just lead with the other end and the other foot.
Your balance, steering and timing were learned with the other leg leading. Switch asks your body to do the same movements in reverse, so it often feels like your first day again. Easy terrain and short, regular practice help most.
Ride a little switch on every run rather than saving it for one long session: finish easy runs switch, warm up with a switch run, and copy what your body does in your normal stance. Move to steeper terrain only when you can stop in switch whenever you want.
No, but some riders find switch more comfortable with both feet pointing slightly outward. Any change should follow your binding and board instructions, and a qualified technician can check your setup.
Start on a gentle, quiet slope. Sideslip on both edges, practice the falling leaf, then make single turns to a stop before linking turns. Riding the easy end of each run switch is a simple way to add practice time.
Up next
Turn on each edge, change edges and link your first S-turns.
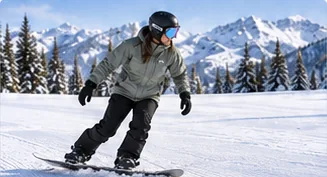
Use the tail of your board to pop off the snow in control.
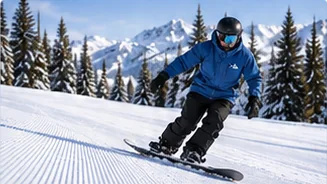
Rotate half a turn and land riding switch, starting on the snow.