How to clean and dry snowboard boots
Clean, dry, deodorize and store snowboard boots and liners.
Board care
Repair or replace
To fix BOA snowboard boots, identify your BOA version, get the matching kit (Burton says BOA supplies them through a BOA warranty claim), then remove the dial, thread the new lace through the guides and refit the dial as the kit’s instructions show. Speed-lace and traditional laces follow the same logic: right parts first, then the maker’s steps.
Part of Snowboard boots
Tools and materials
What you need depends on the fault. For a BOA lace swap, Burton lists the tools below; always use parts made for your exact system.
Matched to your BOA version or speed-lace system, with its instruction card.
Burton lists these for lifting a BOA dial off its base.
Also on Burton’s BOA tool list.
For trimming lace and finishing ends, per Burton’s BOA guide.
Brand, model and season, plus photos of the damage, for warranty claims.
Step by step overview
Work out which lacing or dial system your boot uses.
Look at the boot and component warranties first.
Order the exact kit for your model or version.
Follow the kit instructions, or take it to a shop.
The right fix depends on how your boot fastens.
Before you try to fix a BOA snowboard boot or any other closure, confirm what you have:
Write down the boot brand, model and season and photograph the dial or handles; that makes ordering the right kit much easier. If you just need a reminder of how the system should work, our walkthrough on tightening and releasing laces, handles and dials covers normal use.
Check what’s covered before you spend money. A boot can carry two separate warranties:
Other brands run their own programs. Thirtytwo, for example, says it has replacement laces, locks and pins available through its customer service, and recommends an authorized dealer or local snowboard shop for help re-lacing rather than mailing boots to its office. Keep your receipt and take clear photos of the damage.
Typical BOA faults are a snapped steel lace, a dial that won’t tighten or release, or a cracked dial. Burton estimates a BOA lace replacement takes about 30 minutes with the right parts. Its outline of the job is:
Follow the card in your kit over any summary, including this one, because removing a BOA dial and re-lacing differ between versions. Don’t lever a stuck dial off with force, and check the lace isn’t kinked or trapped in a guide. If the dial base, guides or shell around them are damaged, a snowboard shop is the better option.
Burton’s Speed Zone repair guide gives five steps: get a Speed Zone replacement kit, remove the liner (optional), remove the broken lace, re-lace the upper or lower zone, and tie off the anchor knot. It says the kit includes laces with handles attached, a threading tool and an instruction card, available from Burton stores, Spare Parts on burton.com or authorized retailers. Other brands route their laces differently, so use their kit and card.
Replace worn laces with ones of the right length and type for snowboard boots, and check hooks and eyelets for sharp edges that would cut the new lace.
Torn fabric or a broken liner lace can often be fixed by a shop. Liners that have packed out badly may need replacing; Burton says it doesn’t sell liners separately and points riders to third-party retailers. Heel lift and boots that feel too big are fit problems rather than repairs: see our heel-lift fixes and J-bar guide.
A peeling sole, split shell or failing stitching is harder to repair well, because any adhesive has to bond flexible materials through cold, wet and heavy loads. Before you glue snowboard boots yourself, ask a specialist footwear repairer or snowboard shop whether a lasting repair is possible. Household glues can harden, crack or damage the materials.
Many failures start with poor drying and storage; our routine for drying liners and storing boots helps prevent them.
Use a snowboard shop or specialist repairer when:
If repair isn’t possible or costs more than the boots are worth, use our boot sizing and buying guide to choose the next pair, and see what to do with old snowboard gear.
Common questions
For Burton BOA boots, Burton says kits are ordered directly from BOA by submitting a BOA warranty claim, and you need to know your BOA version. For other brands, check the boot maker’s and BOA’s support pages.
Yes, on most repairs it’s part of the job: Burton’s guide uses pliers to lift the dial off its base. Steps differ by BOA version, so follow the card in your kit and don’t force it.
It depends on the damage and materials. Ask a specialist repairer or snowboard shop whether a lasting repair is possible; household glues often fail or damage the boot.
Often, but it depends on the brand and part. Burton says BOA components on its boots are covered by BOA’s Lifetime Guarantee, while the boot itself has a 1-year warranty. Check your own brand’s terms.
More board care
Clean, dry, deodorize and store snowboard boots and liners.
Heat mold, break in and stop heel lift in snowboard boots.
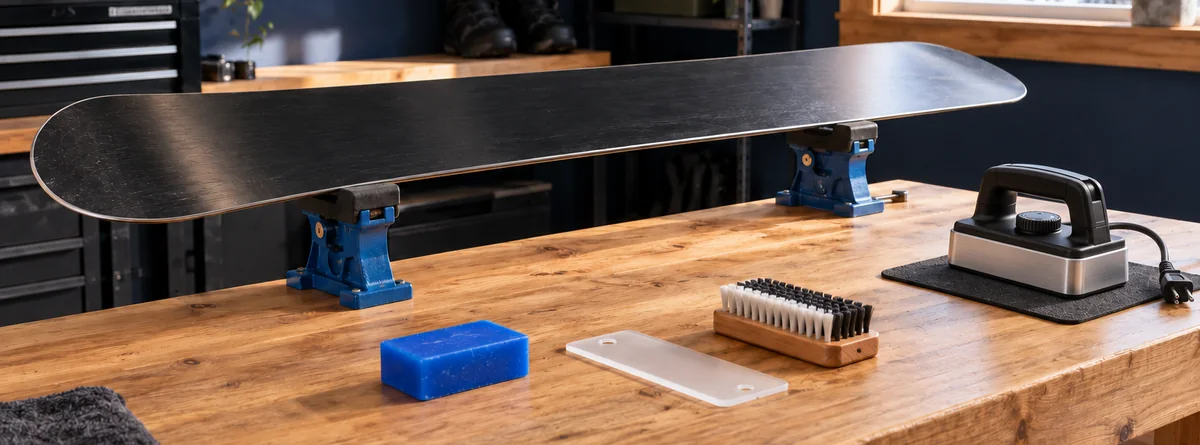
A simple routine to clean, check, wax and tune your snowboard.