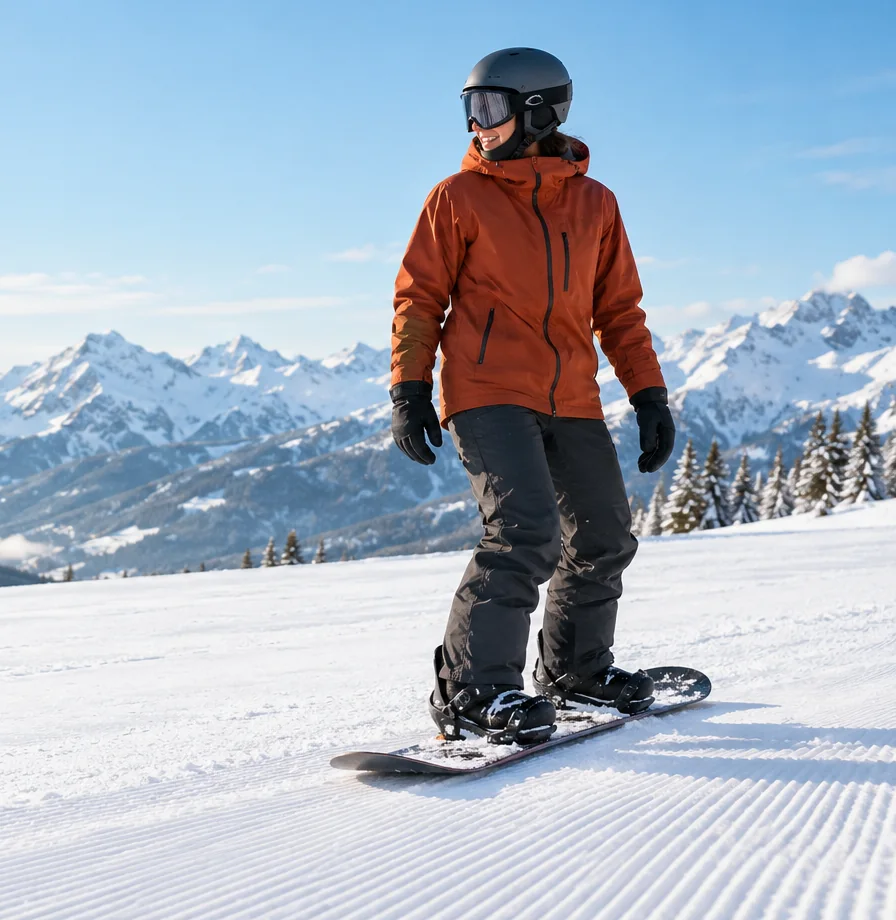
How to skate and glide on a snowboard
Push, skate and glide with one foot strapped in on flat ground.
Gear guide
Small parts, real safety jobs
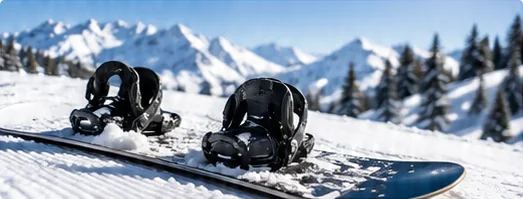
To use a snowboard leash, loop it through a strong point on your front binding and fasten the other end to your front leg or boot before you unstrap or ride a lift. A stomp pad does a different job: it gives your free foot grip when you skate or get off a lift.
Part of Choosing a snowboard
At a glance
A loose snowboard can slide a long way and hurt someone.
The Your Responsibility Code used at many North American ski areas includes the rule: “You must prevent runaway equipment.” A snowboard left on a slope without anything holding it can slide away, and a runaway board is a real danger to people below.
How resorts apply this varies. Some ask riders to use a leash, some accept bindings that stay attached to the board, and some have their own rules for lifts. Rules can also differ between countries. Check the resort’s website or ask at the ticket office before your trip, and follow any signs or lift staff instructions.
Whatever the rules, the habits are the same:
A leash is a short strap or cord that connects your board to your body. Designs vary, so follow the directions that came with yours. Burton, for example, describes its Cord Leash simply: “loop it to your binding when you need it,” and stash it in a pack or pocket when you don’t. The usual approach to putting a leash on a snowboard is:
A leash does not replace good habits. Unclip it only when the board is lying safely, and never rely on it alone to hold a board on a steep slope. See how to use a ski lift on a snowboard for riding lifts with one foot strapped in.
Place it where your free back foot naturally lands.
A stomp pad, also called a traction pad, gives your back foot something to grip when it is out of the binding, for example when you skate along a flat or ride off a chairlift. Our guide to skating and gliding on a snowboard explains when you need it.
ONE MFG’s traction pad installation guide suggests placing it just in front of the rear binding. Before you stick anything down:
Adhesives vary, so the directions that came with your pad come first. Most pads are peel-and-stick; Dakine sums up its Revamp stomp pad as “trim, peel, stick and shred.” Typical steps, as in ONE MFG’s guide, look like this:
Some pads are made of several pieces that you can arrange. Check they do not overlap the board’s edges. A homemade pad is rarely worth it: you won’t know how its adhesive behaves in the cold or how cleanly it comes off.
Tow accessories for young riders mount differently from stomp pads. Burton’s Riglet Reel guide says the reel fits Burton kids’ boards sized 80–120 cm, screwing into pre-drilled holes in the nose or tail with the two included screws and a hand-held Phillips screwdriver. Burton adds: “Never use power tools to install snowboard components.” Check that your child’s board is compatible before buying, and see helping kids learn to snowboard for how parents use tow reels.
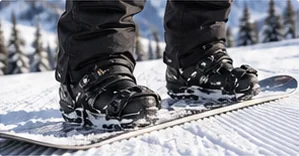
Go slowly and gently. The topsheet is easier to scratch than you might think.
ONE MFG notes that a pad can’t be reused once removed, so plan on a new one. If the topsheet is already cracked under the pad, look at topsheet and edge repair before you fit a new one. Choosing a new board and want to plan accessories from the start? Our board-buying guide covers the whole setup.
Common questions
Attach one end to a strong point on your front binding and the other to your front leg or boot, as the product directions describe. Clip in before you unstrap or ride a lift, and keep it on until the board is lying safely.
It depends on the resort. The Your Responsibility Code says you must prevent runaway equipment, and resorts apply this in different ways. Check the resort’s own rules before you go.
Where your back foot naturally rests when it is out of the binding, usually just in front of the rear binding. Make sure it will not block binding adjustments.
Clean and dry the topsheet, work at room temperature, peel the backing without touching the adhesive, line it up carefully, press it down firmly and let it cure for the time the pad’s directions give before riding.
Lift a corner with a plastic scraper, peel slowly and low along the board, and use gentle warmth if needed. Remove any residue with a cleaner that is safe for your topsheet, testing it on a hidden area first.
Related guides
Push, skate and glide with one foot strapped in on flat ground.
Load, ride and unload chairlifts and surface lifts on a snowboard.
Hold, carry and put down your board safely around other people.