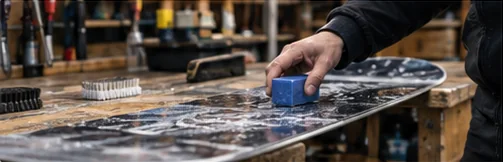
How to wax a snowboard
Hot wax your board at home: prep, iron, cool, scrape and brush.
Board care
Quick wax, no heat
To wax a snowboard without an iron, dry the base, rub on (or spread) a wax made for cold application, buff it in with a cork, and let it dry before riding. It takes minutes, works at home or on the hill, and is ideal as a top-up between hot waxes.
Part of Snowboard maintenance and repairs
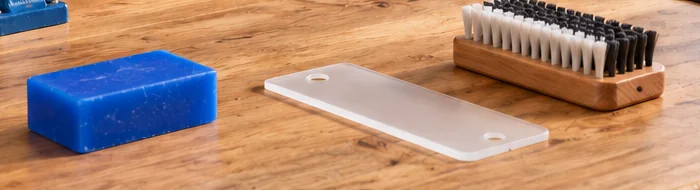
Tools and materials
Exact tools depend on the product. Check the packaging before you start.
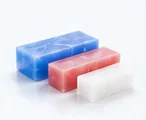
A product sold for snowboard or ski bases, marked for no-iron use. Choose one that suits the snow temperature if the maker offers options.
Many rub-on waxes include a cork; many liquid waxes come with a sponge or felt applicator.
Optional for most rub-on products. Useful for removing old wax, dirt or excess.
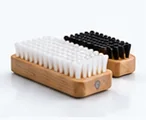
Optional finishing step to polish the base after buffing.
To dry the base and edges before you start.
Step by step overview
Wipe the base and edges dry and remove any dirt.
Rub or spread a thin, even layer over the whole base.
Work the wax in with a cork or pad, using firm pressure.
Let it dry for the time on the label, then brush if the maker suggests it.
At a glance
Choose a wax designed to be applied cold.
You can wax a snowboard without an iron as long as you use a wax made for cold application; ordinary hot-wax bars need heat to get into the base. The main types:
Many products are made for particular snow temperatures, for example a warm-snow formula for wet spring conditions. If you are not sure, a universal or all-temperature product is the simplest choice. Only use waxes sold for skis or snowboards.
The general process for most rub-on and paste products.
As an example, One Ball’s instructions for its X-Wax rub-on bar are: make sure the base is dry, scrape off excess wax with a scraper and nylon brush, rub the wax into the base flat or on edge, then polish it in with the cork side of the packaging. Scraping and brushing with a horsehair brush afterward are listed as extra steps that are not required.
Because it is so quick, rub-on wax is handy to carry in a pocket or pack for a top-up at the mountain, especially when conditions change during the day.
Liquid wax follows the same idea with a different applicator. Makers’ directions (checked 23 September 2026) show how much the details vary:
Use the drying time on your own product, not these examples. Whatever the product, check the label for whether the base needs cleaning first, how thick a layer to apply, and any storage or temperature limits for the wax itself.
Rub-on and liquid waxes are convenient, and are widely treated as a quick fix rather than a replacement for a hot wax. Heat lets wax flow into the base and form a more complete layer, so a hot wax usually lasts longer, particularly on abrasive or icy snow. Some makers disagree for their own products: Rex, for example, says its liquid glide waxes “are comparable to solid hot waxes in terms of performance.” Check what your product claims and see how long it lasts on your board.
A good routine for many riders is a hot wax when the base is properly dry, before storage and at the start of the season, with no-iron wax in between. For the full hot-wax process, see waxing with an iron at home, and for deciding when a proper wax is due, see signs your board needs wax. No iron and no interest in buying one? A shop wax is the other option, and our guide to tuning and board upkeep explains what to ask for.
You may see suggestions to use candles, crayons, furniture polish, cooking spray or a clothes iron with household wax. Avoid them. These products are not designed for snowboard bases, may not bond or glide properly, and some can leave residue that makes a later proper wax harder to apply.
The same goes for improvised heat. Hair dryers, heat guns and household irons without a controllable low setting can overheat the base, and overheating can damage it. If you want to use heat, use a waxing iron and follow the process and temperature on your wax packaging.
There is no real way to wax a snowboard without wax. If you are out of wax, the best option is to ride carefully, dry the board well afterward and wax it as soon as you can.
Common questions
Yes. Rub-on, paste and liquid waxes are made to be applied without heat. Dry the base, apply the wax, buff it with a cork or pad and let it dry. They are quick and easy, but a hot wax usually lasts longer.
It depends on the product. Rex, for example, says to let its liquid waxes dry for 20 minutes before brushing; other makers simply say to allow it to dry. Follow the time on your own bottle.
Often not. One Ball lists scraping and brushing as optional extra steps for its rub-on bar. Check your own product’s instructions.
Cold wax is a convenient top-up, but hot wax generally penetrates the base more fully and lasts longer. Some makers say their liquid waxes perform comparably, so compare how long yours lasts. Many riders use both: hot wax for a full service and cold wax in between.
It is best not to. Household waxes and polishes are not made for snowboard bases and may not glide or bond well. Use a wax made for skis or snowboards.
More board care
Hot wax your board at home: prep, iron, cool, scrape and brush.
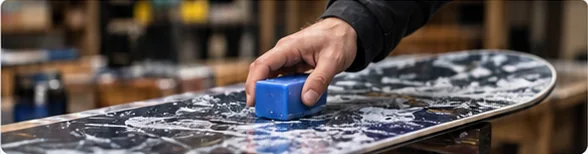
Spot the signs your base needs wax and plan waxing around how you ride.
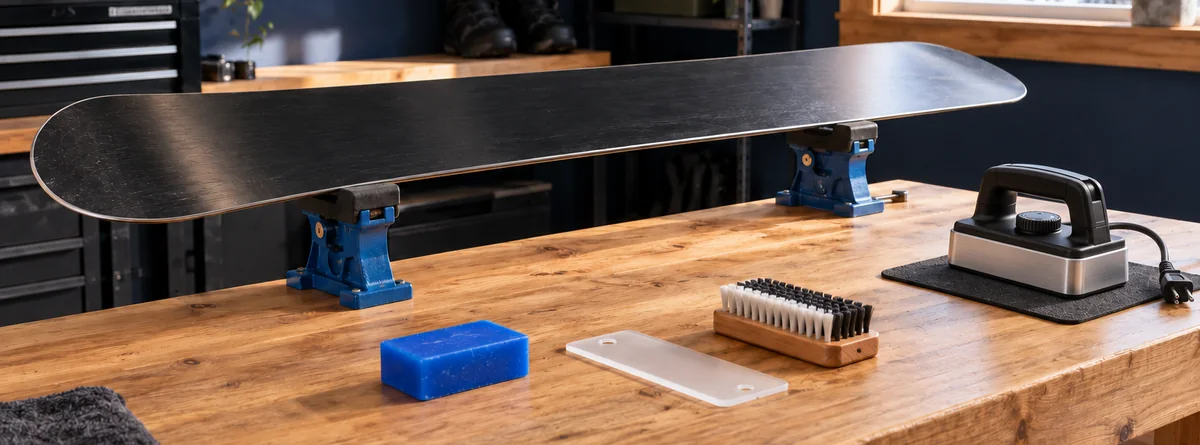
A simple routine to clean, check, wax and tune your snowboard.